SAP EDI work flow set up is the continuation of previous post Setting up work flow part one which is a vital part in the cross applications of SAP ABAP and going through the previous post gives more convenience in understanding the present topic.
To build an organizational unit
1.We have to start by using transaction PPOCE. Accept the default validity dates on the Create Root Organizational Object pop−up dialog.
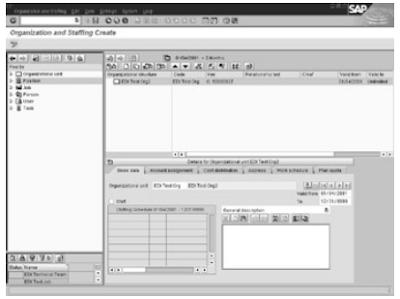
2. The main maintenance screen, shown in figure below, has four windows. Clockwise from the upper−left corner, these are the Object Selection window, the Overview window, the Details window, and the Search Result window. Enter an abbreviation and name for your organizational unit in the Details window, and click the Save icon.
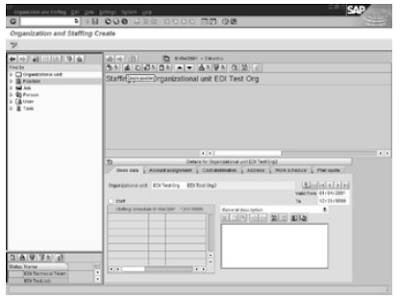
 3.To create and assign positions to your organization, click the far−left icon in the Overview window to display a list of views as shown in the figure below. Select the Staff Assignments (List) view. At this point, we can change the view to a workflow−specific one by selecting Goto, Switch Settings from the drop−down menu. Select the Organization and Staffing (Workflow) view. This will add several workflow−specific object icons in the Object Selection window.
 4.Create the various positions as required by clicking the Create Position icon in the Overview window as shown in the figure. We can leave the job description blank for now. Assign an abbreviation to the position, and give it a meaningful name. Repeat this step for all positions identified earlier.
 5.Assign users to these positions. Click the User icon in the Search window, and select a group of users. The Search Result window will display the users selected. Drag each user to the Overview window,and drop it into the appropriate position. Figure below shows the result. Repeat this step for all positions.
 Related Posts
Work item in work flow
SAP WORK ITEM AND INBOX
EDI Tasks and Roles
SAP OOPS ABAP PART 11
No comments :
Post a Comment